

How to Use the Dual Camera Feature for Split-Screen Stories
Instagram’s Dual Camera feature brings a whole new level of authenticity to Stories by capturing what you see and how you feel in the same moment. Whether you’re revealing a surprise gift while showing your genuine reaction, leading a product demonstration with on-screen commentary, or exploring a new city while narrating your experience, split-screen footage combines two perspectives into a single immersive clip. In this guide, you will discover how to plan a compelling storyboard, activate and configure the Dual Camera mode, record smooth split-screen segments, enrich your Story with in-app enhancements, and share content that resonates. Along the way, you’ll learn how sssinstagram can serve as your backstage organizer for scripts, shot lists, and favorite layout ideas.
Crafting Your Split-Screen Storyboard
Every engaging split-screen Story starts with a clear vision of its narrative arc. Before opening the camera, take time to map out the flow of your content. Imagine the moments you want to capture: perhaps the first frame introduces the environment—like a bustling café interior—while your front camera prepares for a quick reaction. Subsequent frames alternate between close-ups of a latte art pour and your surprised expression. You might conclude with a call to action inviting viewers to comment or swipe up for more details. Jot down these beats in a note-taking tool or within sssinstagram, where you can attach reference posts, key lines of dialogue, and layout sketches. By doing this preparation, you avoid hasty retakes and maintain a smooth, coherent storyline when recording.
Activating and Configuring Dual Camera Mode
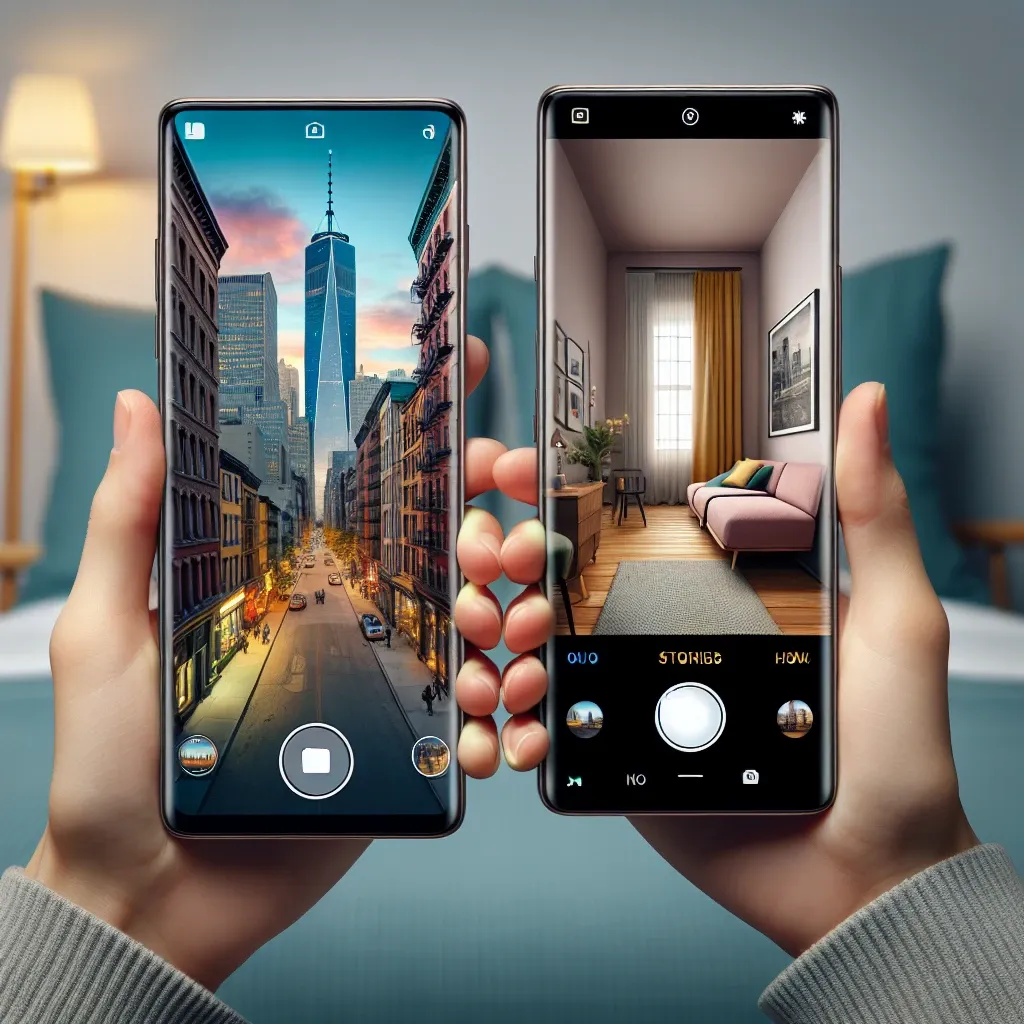
Once your storyboard is complete, launch the Instagram app and swipe right to access the Stories camera. Along the left edge, you’ll find options like Boomerang and Layout. Scroll until “Dual Camera” appears and tap to enable the split-screen interface. The default orientation places your rear-camera view on top and your selfie view below, but you can switch their positions or choose a vertical split by tapping the layout icon in the top right corner. Pinching each half of the screen lets you zoom in independently, allowing for detailed close-ups of products or scenery while keeping your reaction perfectly framed. Proper lighting is crucial, so position yourself near natural light sources or use a portable LED ring light to illuminate both you and the background evenly.
Recording Seamless Split-Screen Segments
Recording with Dual Camera requires steady handling to prevent distracting shakes. If possible, mount your device on a small tripod or gimbal to stabilize the rear-camera feed while you interact naturally with the front lens. Tap and hold the record button to capture up to fifteen seconds per clip. Speak clearly into the microphone, and move deliberately to ensure the main subject remains visible. If your storyboard calls for more than fifteen seconds, simply lift your finger to stop and then press again to continue. Instagram will seamlessly stitch these segments into a continuous Story, allowing for natural pauses and adjustments between takes. Review each clip by tapping the preview thumbnail; if a section falls short—perhaps your commentary was rushed or the focus slipped—delete just that clip and re-record without affecting earlier footage.
Enhancing with Instagram’s In-App Tools
After capturing your split-screen segments, tap the arrow to enter the editor, where Instagram’s suite of tools brings your Story to life. Animated stickers draw the eye: a pulsing arrow can highlight a product feature in the rear view, while a bouncing emoji emphasizes your facial reaction. Instagram’s “Typewriter” text animation offers kinetic titles and captions, perfect for labeling steps in a tutorial or emphasizing key points. Use the brush tool to circle important details or underline phrases in contrasting colors. To maintain a unified look, apply a single filter across both halves by swiping through options until you find the right mood. The filter will adjust both camera feeds simultaneously, ensuring cohesion without manual color correction. If you plan to reuse certain sticker positions or text styles, save screenshots of your layout in sssinstagram so you can replicate them precisely in future split-screen Stories.
Sharing, Analyzing, and Repurposing Your Split-Screen Content
Once your split-screen Story is polished, tap “Your Story” to publish. To drive interaction, overlay a poll sticker or question prompt over the portion of the screen with fewer visual elements, encouraging viewers to engage without obscuring critical details. After the Story expires, open Insights to examine view counts, sticker taps, and completion rates. High engagement indicates that your split-screen approach resonated, while drop-offs at certain clips suggest pacing or framing adjustments are needed. Download standout segments by tapping the three-dot icon and selecting “Save Video”; these clips can be repurposed as Reels or feed posts, extending their reach beyond ephemeral Stories. Maintain an archive of your best split-screen recordings, layout templates, and performance notes in sssinstagram, creating a streamlined library of ideas and assets for rapid deployment in future campaigns.
By following these steps—thoughtful storyboarding, precise activation and configuration of Dual Camera mode, steady recording techniques, skillful application of in-app enhancements, and strategic sharing and analysis—you’ll transform ordinary moments into immersive, multi-perspective Stories that captivate your audience. Split-screen content enriches your narrative, deepens viewer engagement, and showcases the full range of your storytelling capabilities—all directly within Instagram’s native tools.

Leave a Comment