

How to Crop Reels to 9:16 Without Third-Party Apps
Ensuring your Instagram Reels display perfectly on mobile screens often means cropping to the native 9:16 vertical aspect ratio. While there are countless external editing apps that promise precise cropping, you can achieve the same result entirely within Instagram itself. By mastering the built-in tools—especially the Trim and Align features in the Reels composer—you avoid app clutter and maintain a streamlined workflow. This guide explains how the Instagram interface handles video framing, how to prepare or adjust existing clips, and how to fine-tune your composition so every shot fills the screen edge-to-edge. Along the way, you’ll learn framing tips that keep your subject centered and discover how a simple organizational trick in sssinstagram can help you track your best crop settings for future posts.
Understanding 9:16 and Why It Matters
The 9:16 aspect ratio corresponds to the dimensions of a typical smartphone screen held vertically, making it the ideal format for immersive, edge-to-edge viewing. When you upload a video that isn’t already 9:16, Instagram automatically fits it within that vertical frame, often leaving black bars or zooming in until the video edges are cut off. By starting with a video that matches the platform’s native ratio, you maintain full resolution, avoid awkward cropping of important content, and deliver a professional look that keeps viewers focused on your message. Whether you’re filming interviews, product demos, or travel clips, framing with 9:16 in mind ensures that every detail appears exactly where you intend it in the final Story or Reel.
Preparing Your Footage for Vertical Composition
If you’re recording new footage, activate your phone’s vertical video mode before you hit Record. Most camera apps offer an orientation lock or a dedicated vertical recording setting. Position your subject centrally in the viewfinder, leaving equal headroom and footroom to account for Instagram’s on-screen controls and your own caption overlays. If you’re working with existing clips shot in a different ratio—say, widescreen 16:9—think through which portion of the frame contains the essential action. Plan to pan or zoom slightly during recording so you capture ample buffer space around your subject, which gives you room to reposition within the 9:16 box later in Instagram’s editor. By visualizing the final crop area ahead of time, you reduce the risk of inadvertently trimming out critical motion or context.
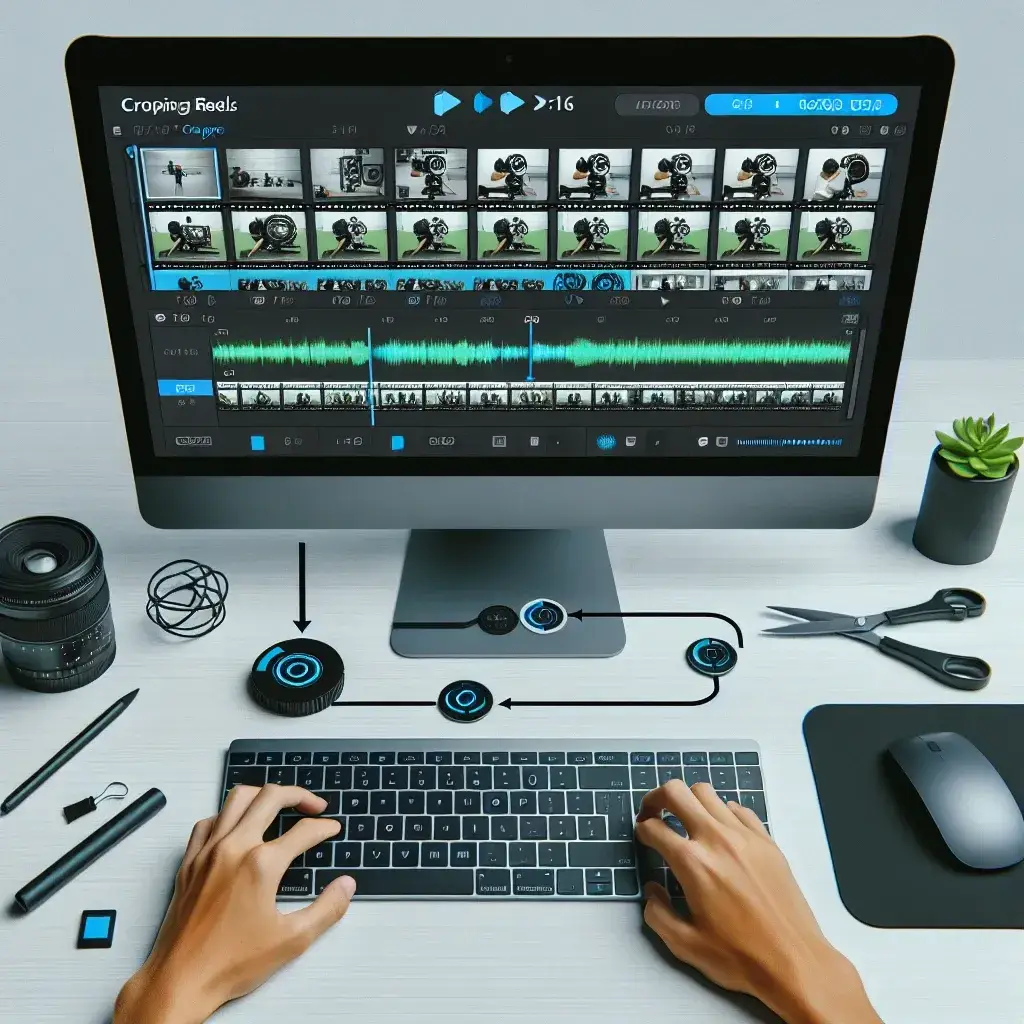
Cropping Directly in the Reels Composer
To crop within Instagram, open the Reels camera by tapping the plus icon and selecting Reels. Import your clip from the camera roll by tapping the gallery thumbnail. Once the clip appears in the timeline, tap the preview window to reveal the Trim tool. Instagram automatically applies a 9:16 mask, but you can move the video beneath that mask by dragging it up, down, or side to side. If your source clip is longer or shorter than the maximum Reel duration, use the white handles on either end of the timeline to select the exact segment you want. Then, pinch the video in the preview to zoom in until the masked edges align where you desire. This method effectively crops the video to 9:16 without requiring any additional software, and it preserves the original quality by avoiding re-encoding outside Instagram’s native process.
Fine-Tuning Frame Alignment and Key Action
After you’ve applied the basic crop, ensure that key elements aren’t too close to the top or bottom of the frame—areas that Instagram’s interface might obscure with controls or captions. Tap the preview and use the alignment grid (if visible) to center faces, products, or text. If the native grid isn’t showing, turn on your phone’s screen grid in camera settings before importing, or visualize thirds in your mind’s eye. Small adjustments can make a big difference: shifting a performer’s eyes slightly upward in one clip creates a more balanced composition when you transition between multiple cropped videos. If you have multiple clips in a single Reel, repeat the drag-and-pinch crop for each segment to maintain consistency in framing across cuts.
Previewing and Publishing for Maximum Impact
Once all segments are trimmed and aligned, tap Next to enter Instagram’s posting screen. Here, you can apply filters that respect your vertical crop or add animated stickers that remain locked in place relative to the frame. Before tapping Share, use the preview button to watch your full Reel as viewers will see it. Look for any unintentional pans or blank spaces at the edges. If you spot an issue, return to the editor to adjust the crop or trim handles accordingly. When everything looks polished—no black bars, no missing action—add your caption, hashtags, and location tags. Then publish your Reel, confident that it fills the screen entirely and delivers a clean, professional vertical experience.
Maintaining a record of your preferred crop positions—such as the exact zoom level and vertical offset—can save time for future posts. A simple way to do this is to screenshot your cropped preview and save it in a note or in sssinstagram under a “Crop Settings” board. That way, when you return to a similar shoot or need to apply the same framing to a batch of product clips, you have a visual guide that ensures consistency across your feed. By leveraging Instagram’s native tools and keeping a quick reference at hand, you’ll never need to juggle multiple editing apps again. Your Reels will look cohesive, impactful, and perfectly tailored to the platform’s vertical canvas.


Leave a Comment